serving hattiesburg and the surrounding area.
(columbia, petal, purvis, sumrall, laurel, USM, jcjc, jones county, lamar county, forrest county)
serving hattiesburg and the surrounding area.
(columbia, petal, purvis, sumrall, laurel, USM, jcjc, jones county, lamar county, forrest county)
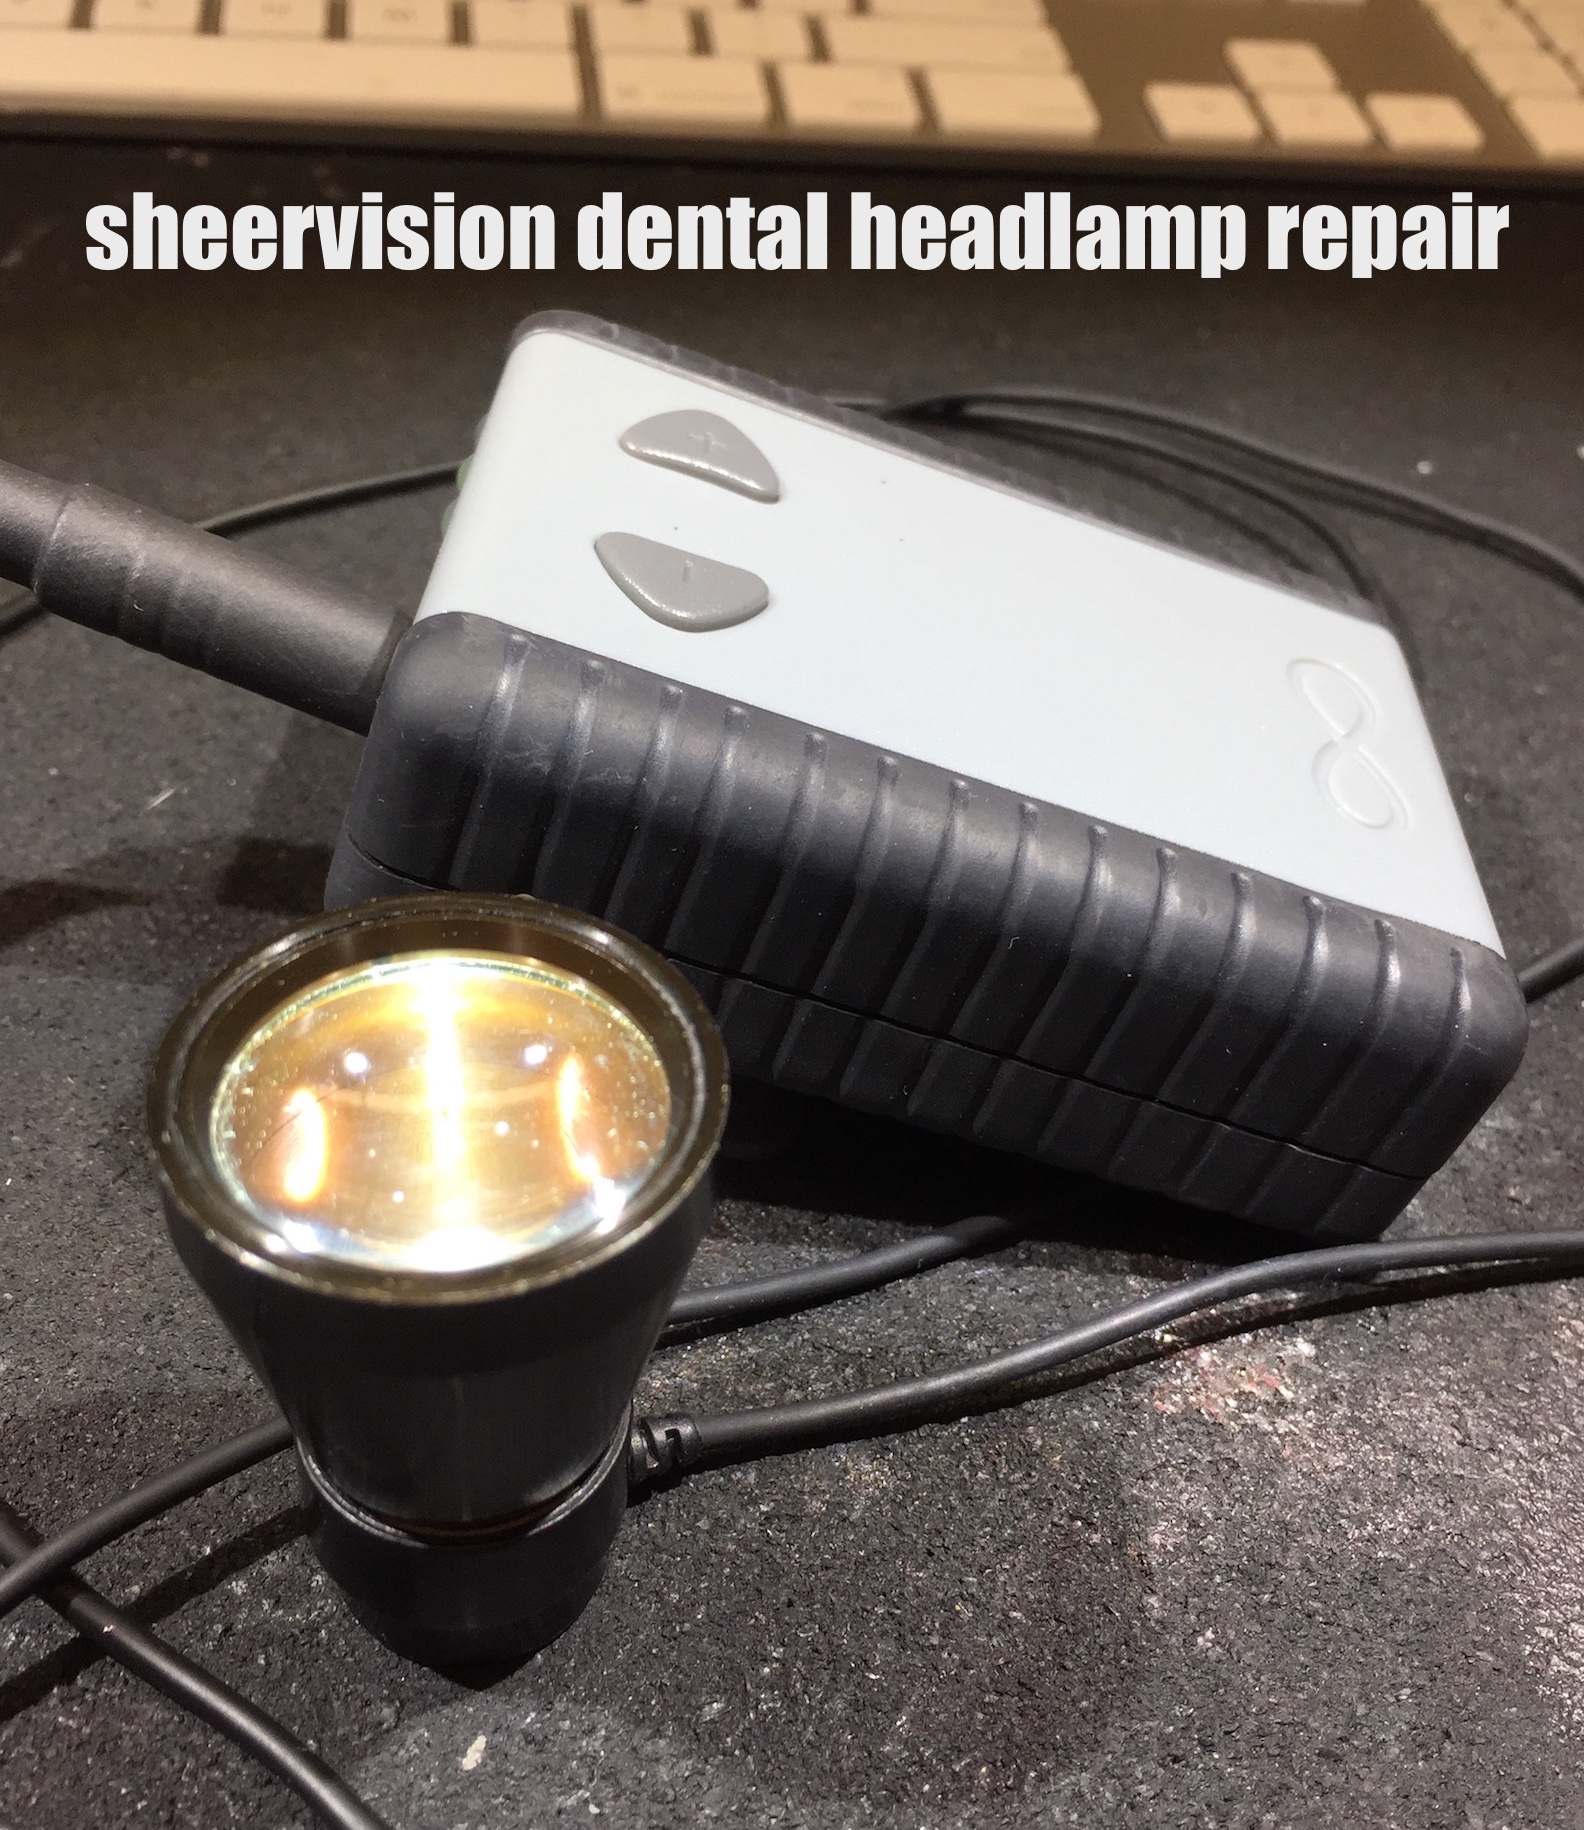
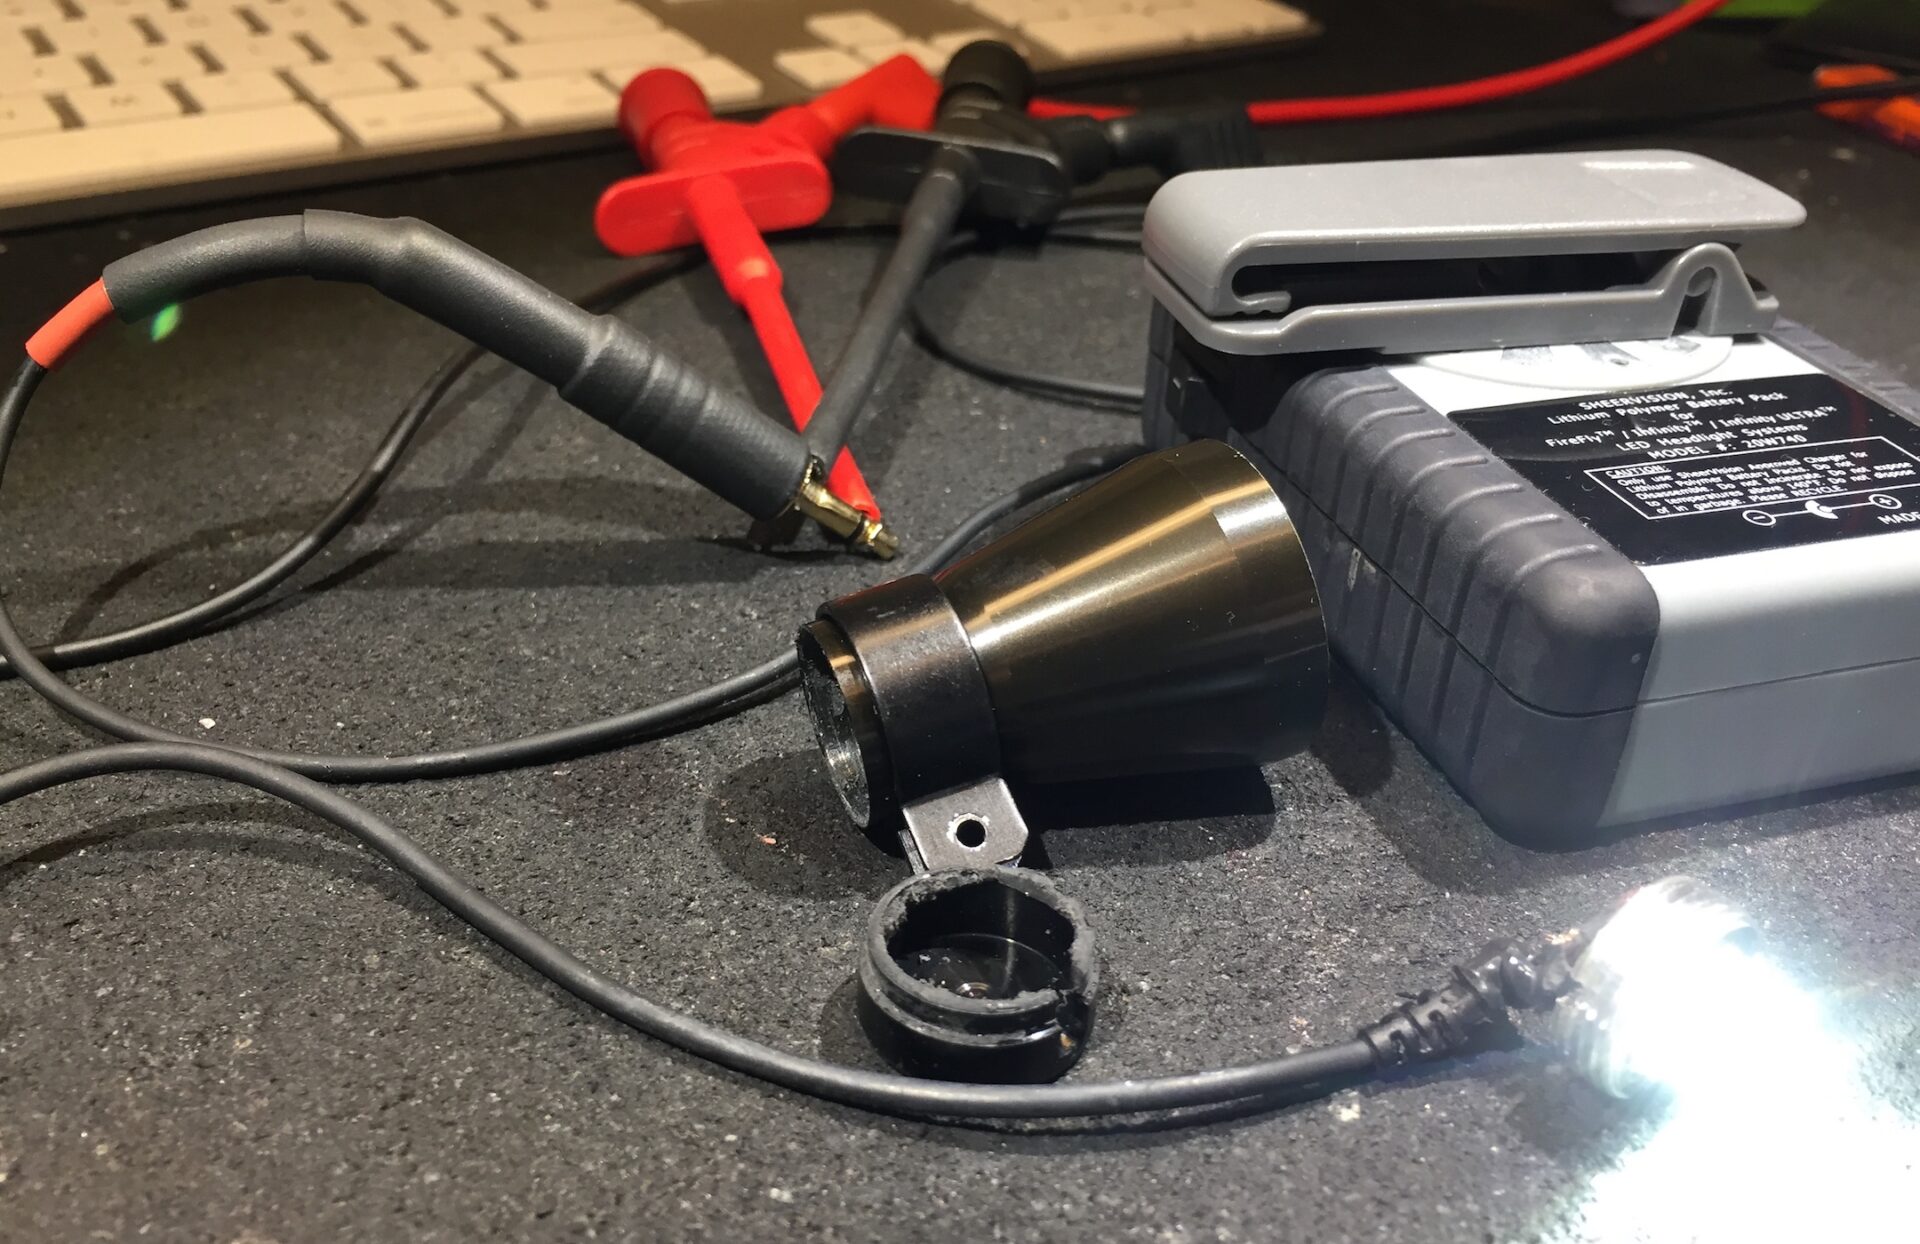
sheervision is a widely used supplier of surgical and dental loupes and head lights. recently one of the v-ray LED head lamps crossed my desk with a short. another tech had attempted the repair and wasn’t getting the results that he needed. so they gave me a call.
one of the things that had been changed was the connector that mounts to the lithium ion battery pack. the battery pack for this one was labeled as model 20w740 which is used for all the lights they offer (the v-ray, firefly, infinity and ultra mini).
this lamp is retailed around $745-$850 and was worth what it would take to look into getting it properly fixed rather than invest into a new one. this LED turned out to be very bright and according to the manufacturer, it has an intensity of 9000+ foot candles or 97,200 lux. link to the manual.
what is saw when i first got this seemed alarming if you are not aware of a few things. let me show you.
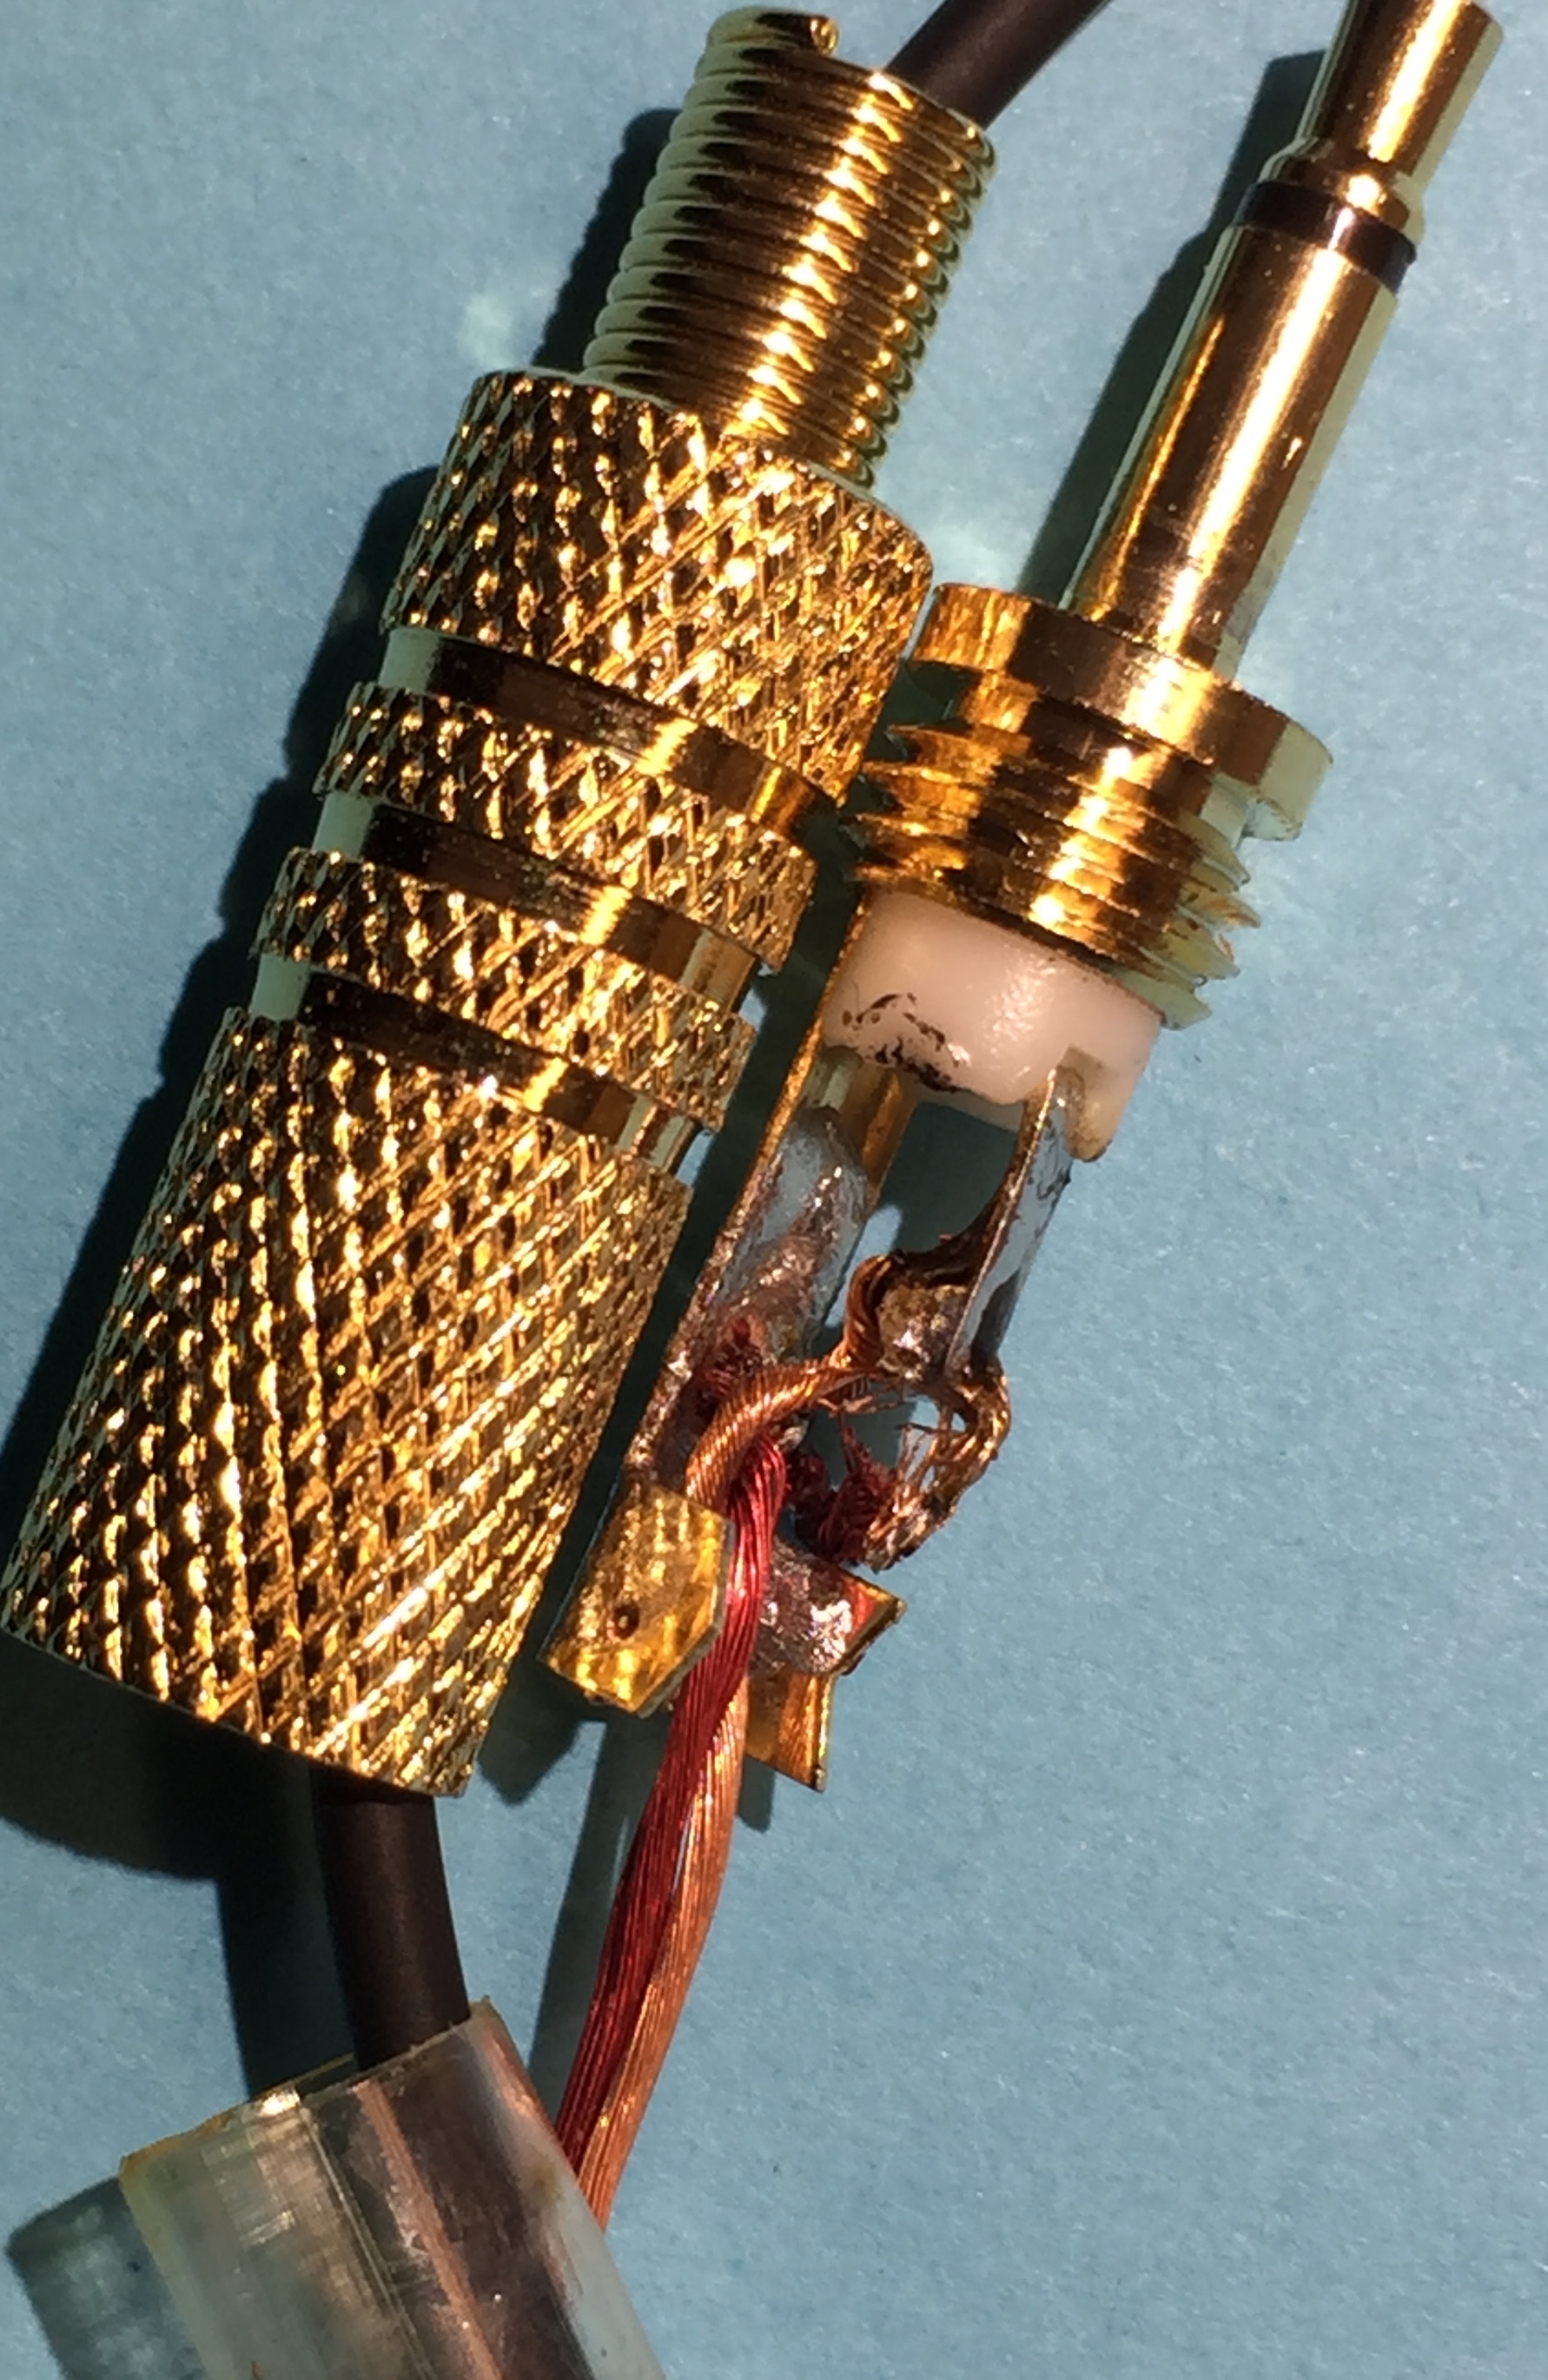 the first thought that comes to mind is the wires are not insulated and they are touching!! no wonder there would be a short! but these wires are a special kind of wire and the insulation is very very durable, heat resistant, very thin and looks like they are bare wires. but the entire length of the cable has the wires running side by side and that is the way that this was manufactured. but if a hot iron was on one of the wires too long, it can melt through the coating and create a spot that can create a short, so lets just start over and clean it up. so we cut away what was done and ended up with this.
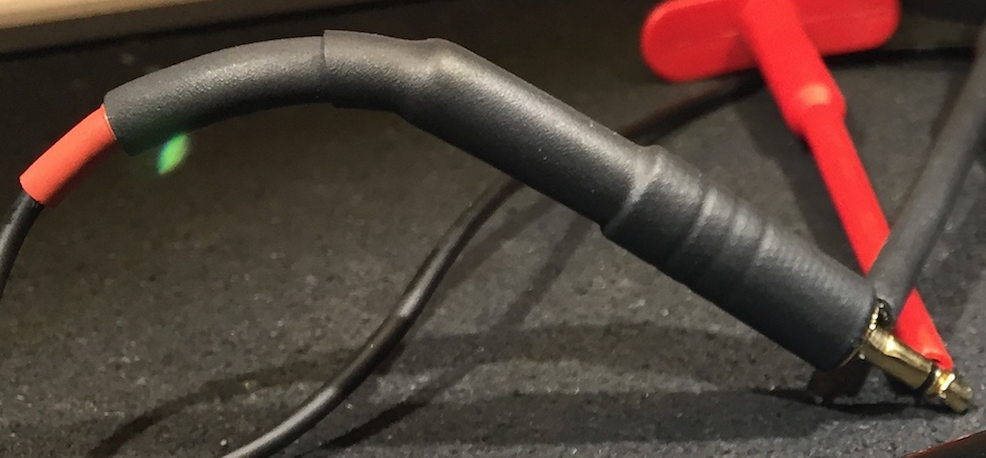
much cleaner and separate and since i had completed the work myself with a very fine point iron, i knew that we were now good on this area. i tested and added some shrink wrap to help resist any future possible short from happening from repeated flexing. i like to use the existing spring that came with the new connector and do several layers of different diameter shrink wrap. i also filled in the solder area with a very durable coating to provide some extra insulation before applying the wrap.
but when we plugged it in, we still did not have any light.
that left us looking at other points along the path of the electricity. the cable seemed to be intact and the wire used was a very durable, high quality wire. so i felt the next step was to unseal the lamp area and take a closer look at that end.
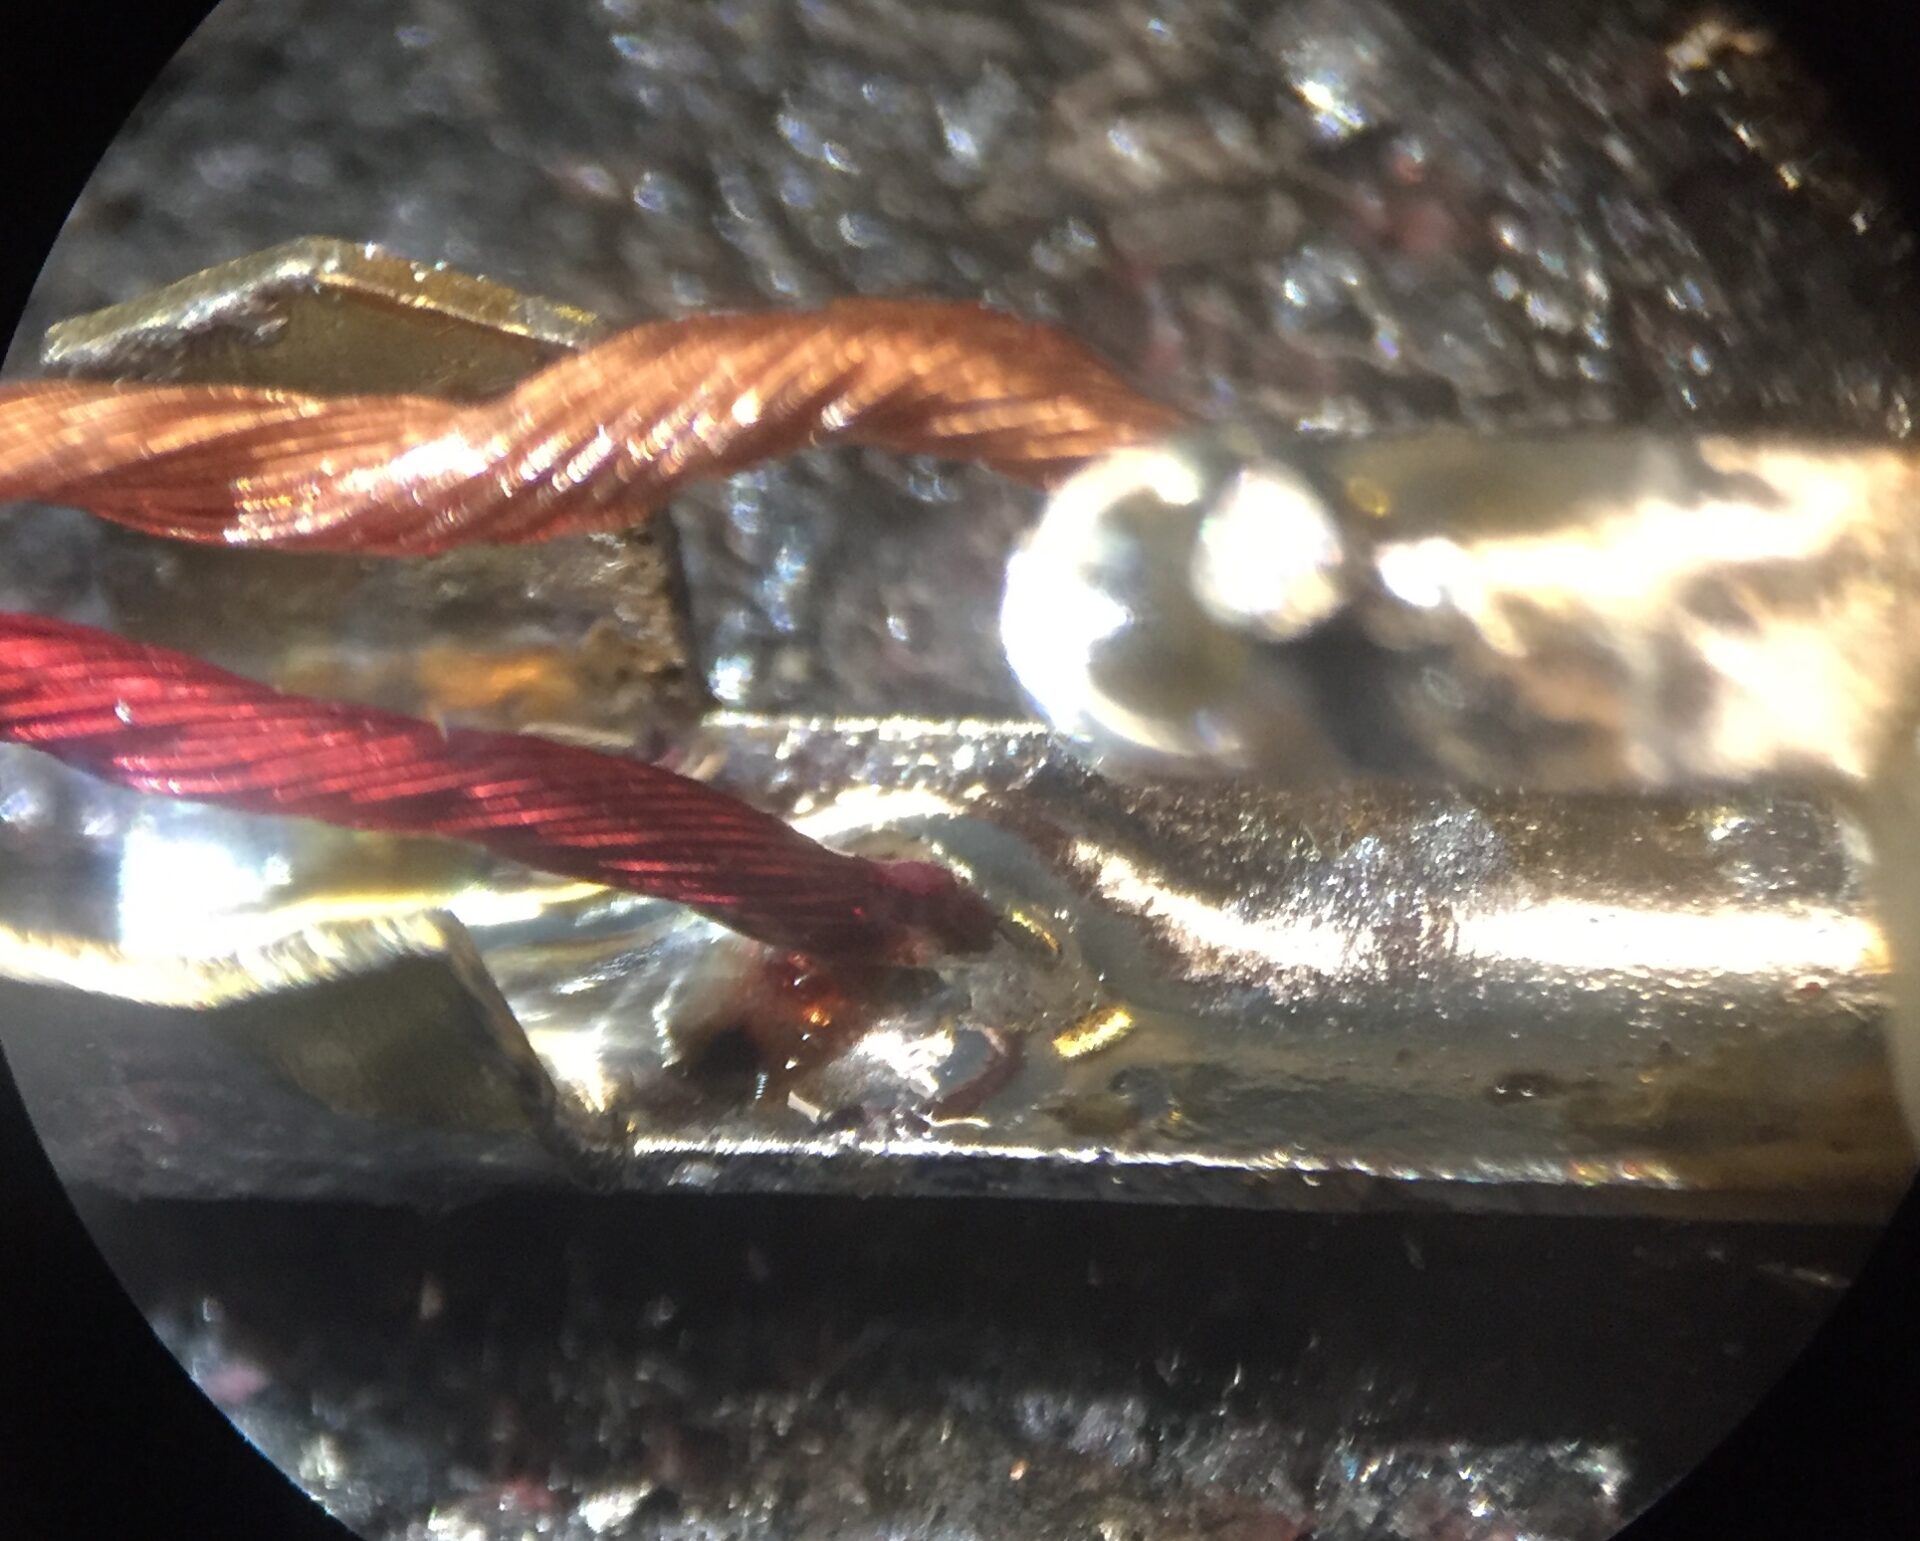
the seal was kind of scary to break, but there was no other way and we did not have anything to lose at that point, so i pressed on. inside was a black temperature resistant sealant. after removing the sealant, i looked closely under the microscope and found a place that had some areas of separation. i grabbed the iron and solder and reconnected that point and hooked it up to my power supply to give it another try. and what do you know?! light! bright light!
success!
before i reassembled the LED into the case, i cleaned the optics both inside and out and reapplied the temperature resistance coating to mimic the original sealant. and we are done!