serving hattiesburg and the surrounding area.
(columbia, petal, purvis, sumrall, laurel, USM, jcjc, jones county, lamar county, forrest county)
if your xbox one x is not displaying any video output, and there is no physical damage to the device or the HDMI port, you may be experiencing a failed chip on the motherboard.
if your xbox one x is not displaying any video output, and there is no physical damage to the device or the HDMI port, you may be experiencing a failed chip on the motherboard.
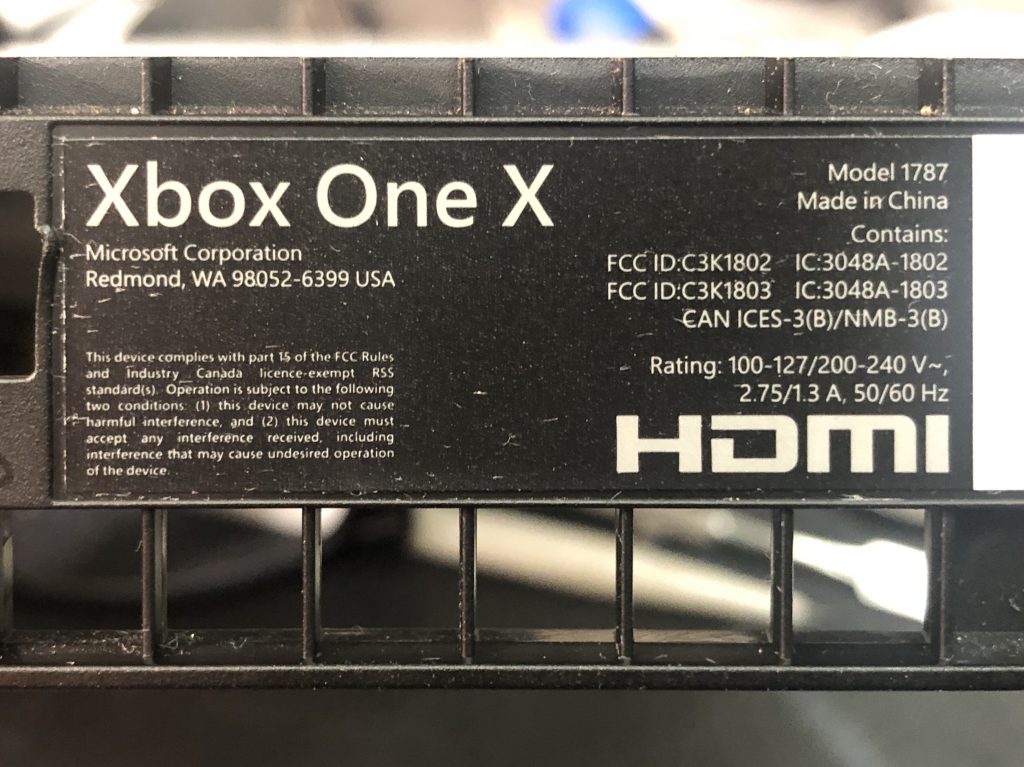
a common explanation for failure is physical damage to the HDMI port itself, due to wear and tear and misuse, and may require it’s own method of repair, but it seems the xbox one x has a common failure in the circuitry on the motherboard leading to the port.
i’m not sure, but this may possibly turn into some sort of recall, or reimbursement for a repair that has already been completed. if you know of such a recall, send me a message. from what i understand, the warranty on this device is 1-3 years depending on whether “insurance” is purchased. if any of you want to clear up this in the comments below, please do.
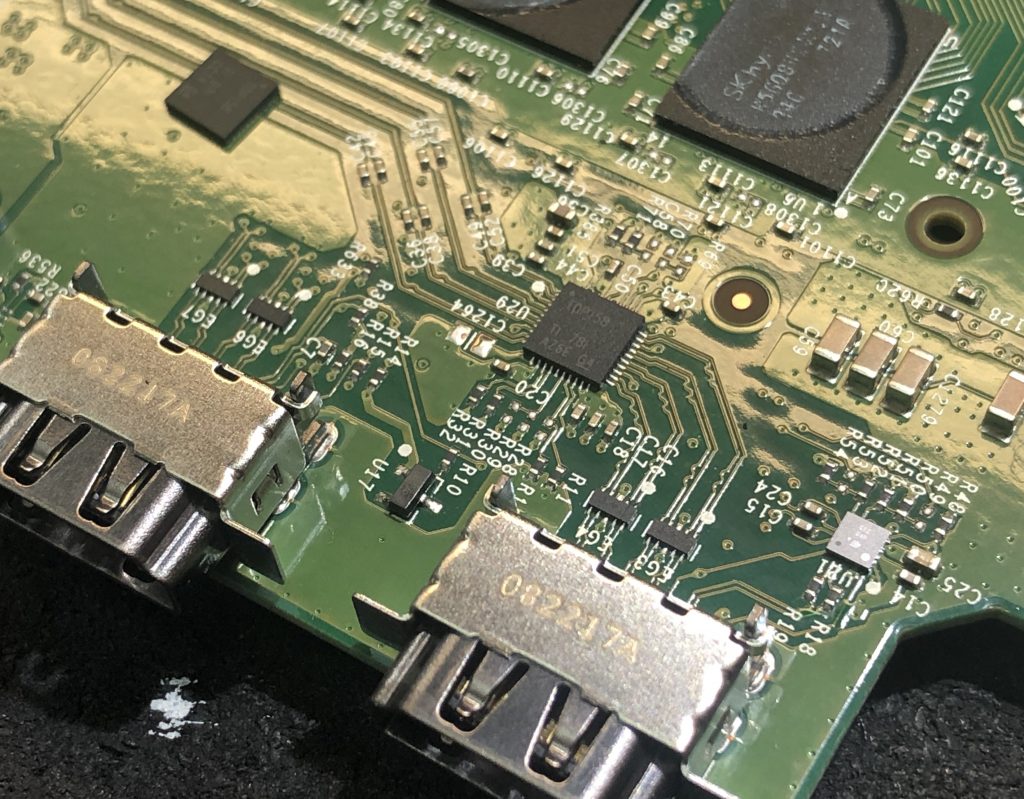
one area to focus on is the TI TDP158 Retimer IC which is the chip that prepares the video signal and sends it to the HDMI port. it’s a 40pin 5mmx5mm WQFN package.
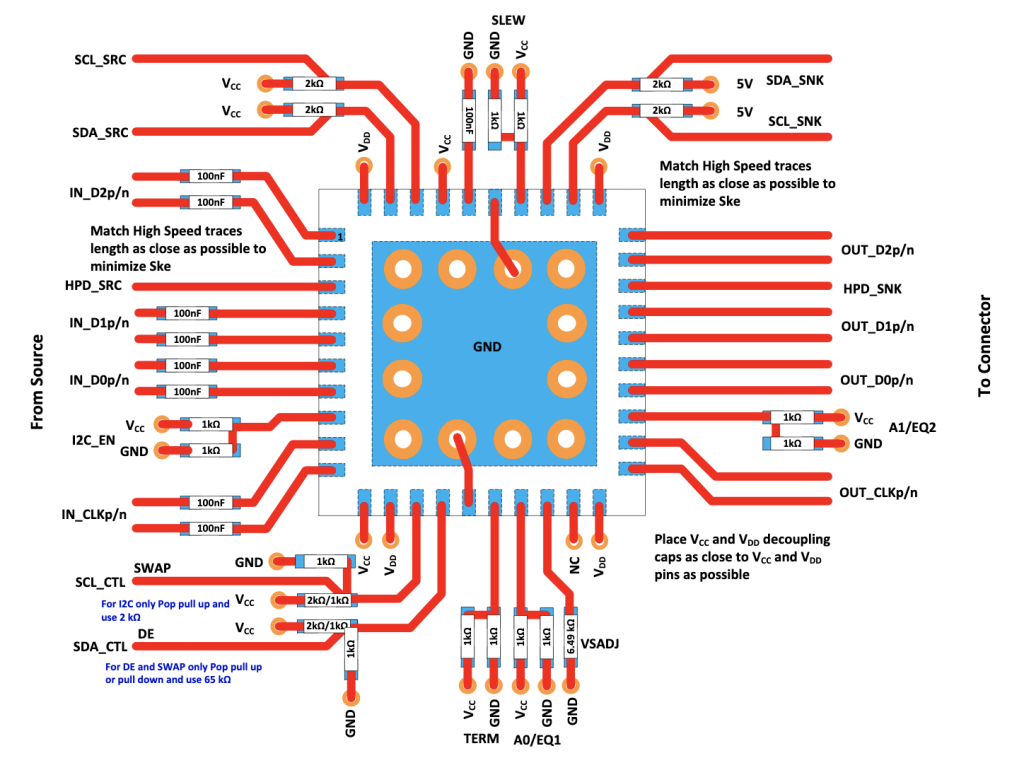
the datasheet can be found here.
the major downside to completing this repair, besides the microsoldering, is the teardown. to get to this chip, requires a major teardown of the device. takes quite a bit of time. all the way past the heatsink having to be remove and thermal compound being reapplied.
the customer had already done some research into the issue and had ordered the chip and just needed someone to install it. that’s when i get the call. he had actually taken the device to a local computer repair shop that focuses on other areas of electronics and they use me for things they don’t normally specialize in. if you are a local computer repair shop and would also like to offer these types of repairs, i can be contracted as a silent, quick, reliable solution. i have a great working relationship with many area shops already, so if you would like to be a part of the team, i’d like to hear from you.
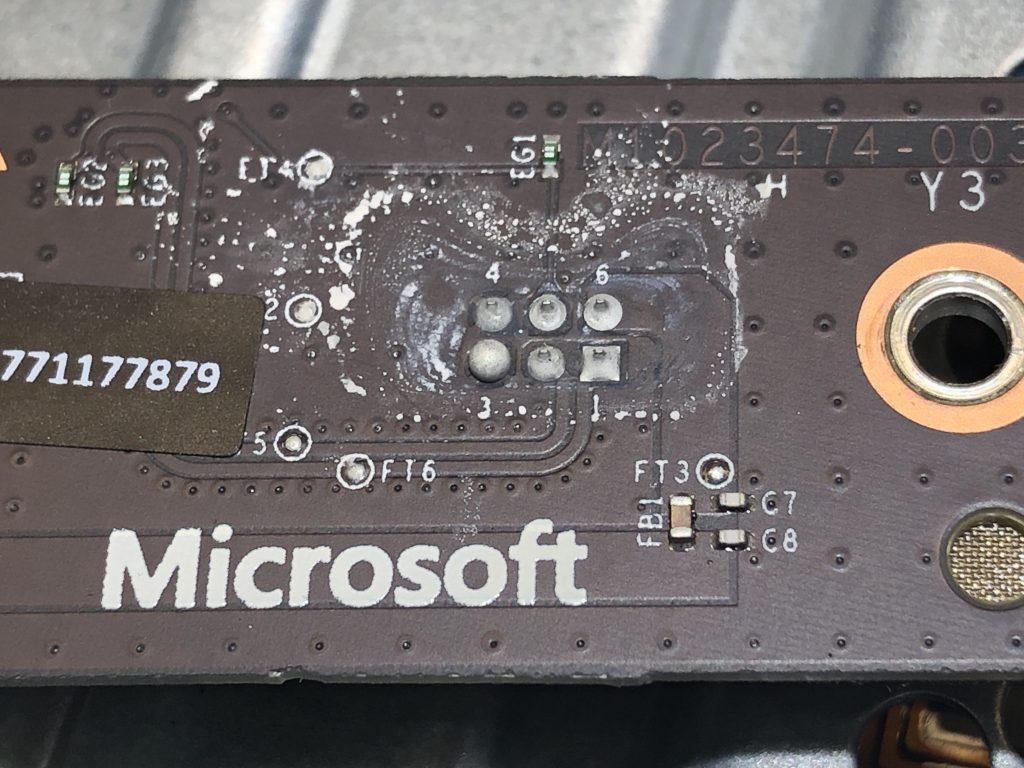
in the teardown, i noticed that it appeared to have some corrosion on one of the outside daughterboards. i cleaned this and dug deaper. this could have been some flux from when it was originally produced, ooooor a splash of dried up milk residue. not sure. i wasn’t going to taste it to find out.
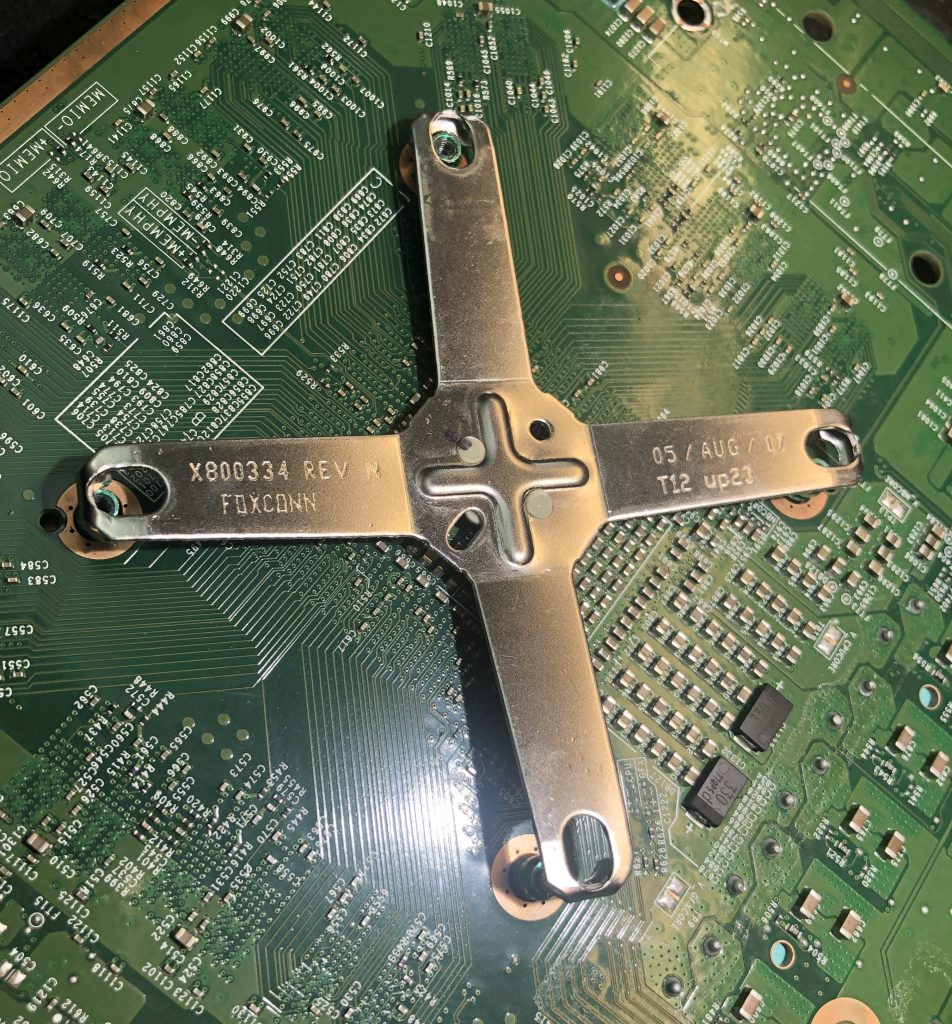
moving on… part of the job requires removing the giant heat sink to gain access to the chip. on the underside is this large tension clamp that is all up in and around some other chips. you have to use a bit of force to release the clamp and to put it back on – CAN NOT SLIP…
once removed, the heat sink can be removed. it’s one of the beefiest heat sinks i’ve encountered. lots of copper. it seems great care has been taken to keep this device cool. i wonder if this may be part of this chips failure. maybe gets too hot? if you have a theory, pipe in the comments down below. would it be good to apply some putty to the HDMI chip too? it didn’t some with any, so i’m going to leave it that way. but maybe next time i may have some more information.
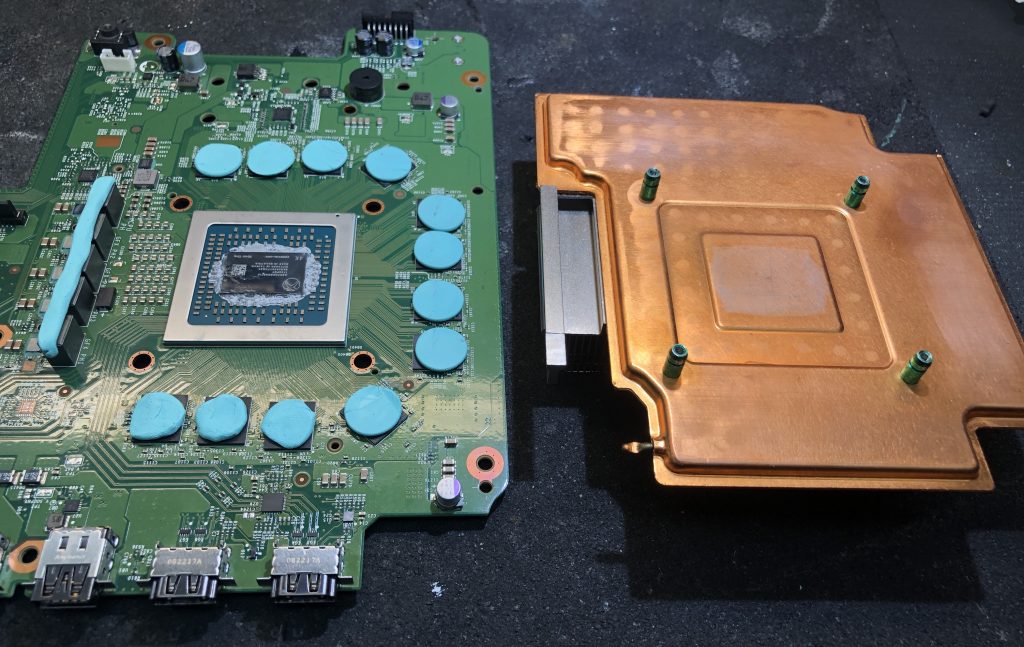
and there it is, under the heat sink right between the 2 HDMI ports.
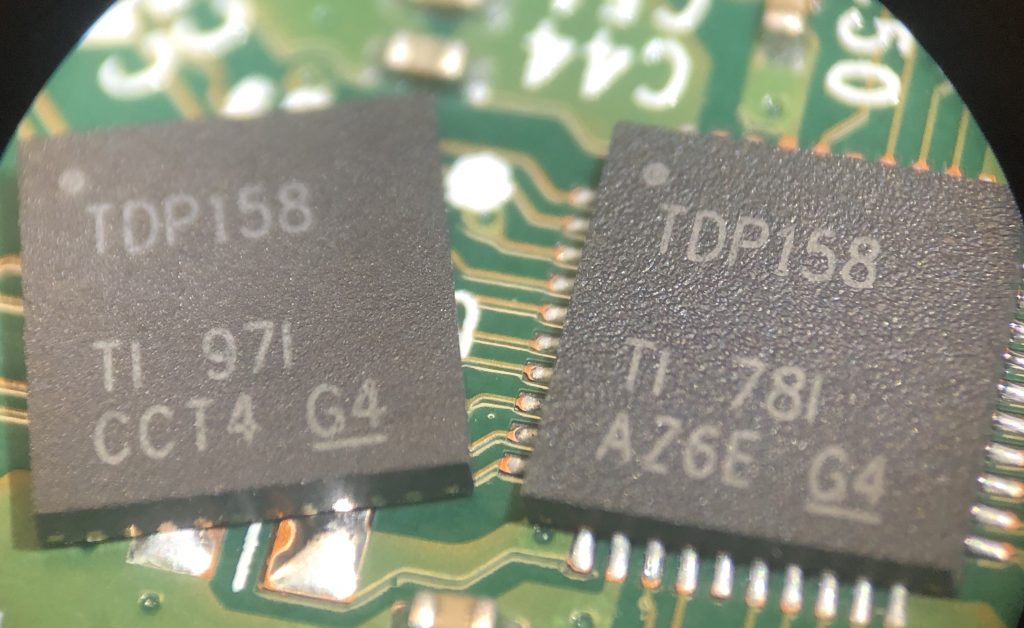
new chip, old chip – before installation.
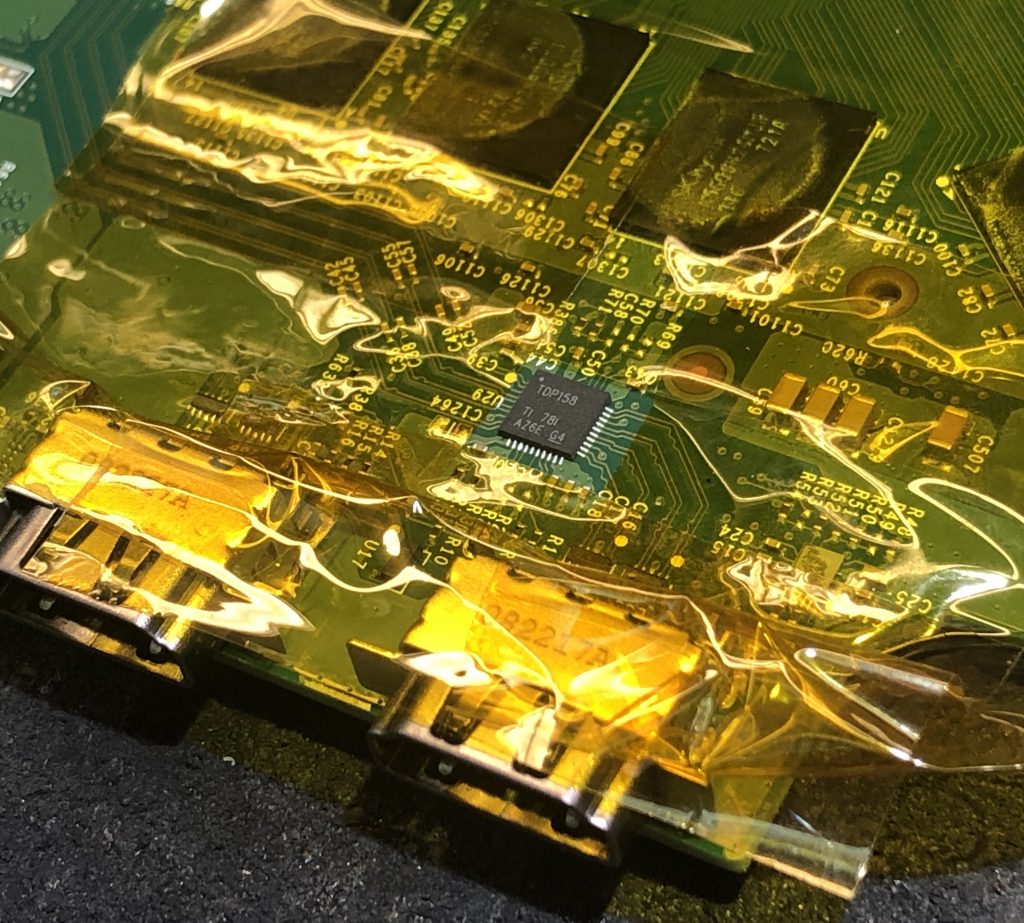
let’s mask up and “pop” it off. i like to protect area components from any stray heat flow and strive to keep it concentrated in the area that we need it to be. i think if i had a large preheater, it would come in handy as this board tended to pull away any heat applied to it. it took a bit more that i expected. fortunately, my air station can handle it.
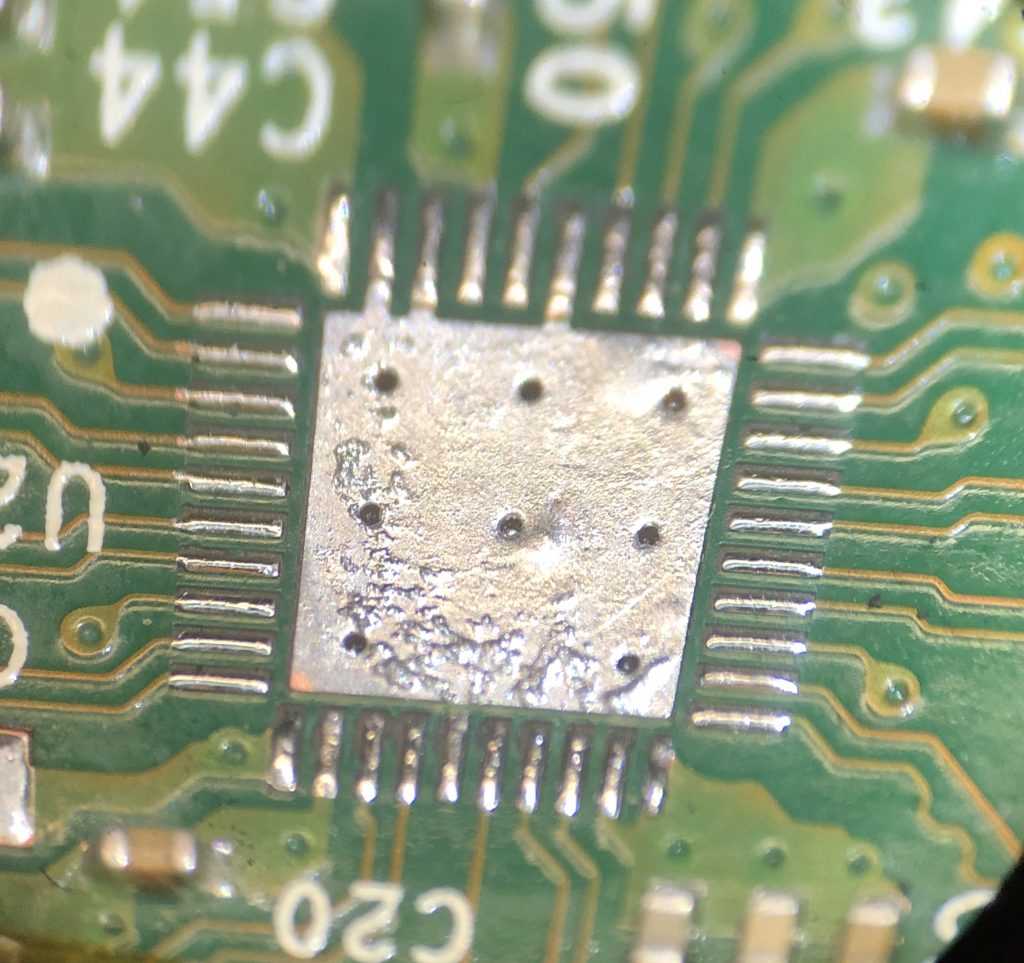
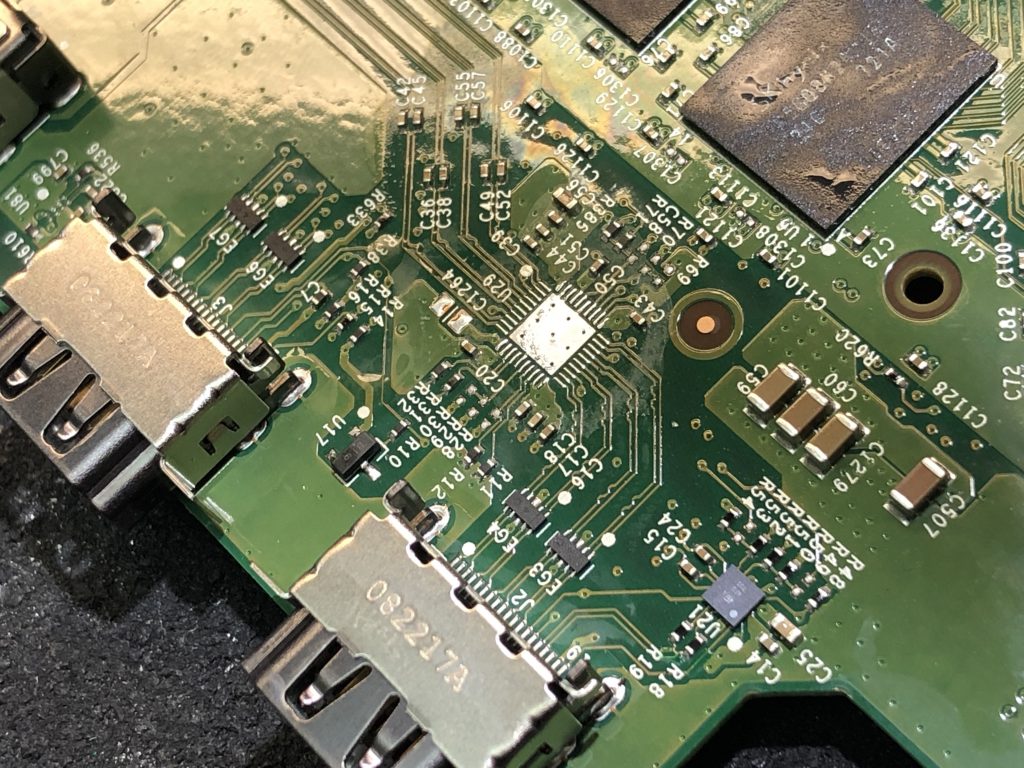
once removed, double check the traces and pads, clean and prep the area for the new chip and “slap” it on.
new, old.
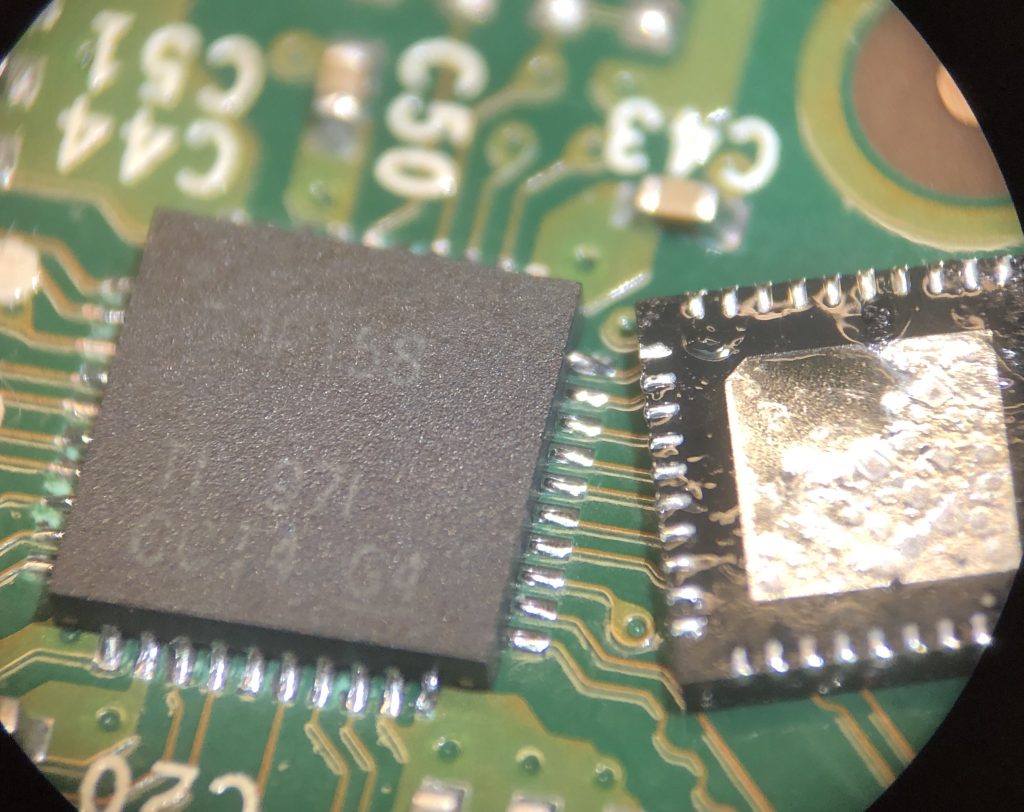
and now the process of putting this whole thing back together, packing it up and taking it back to the shop for them to call the customer to pick it up. proper care needs to be taken to replace all the heat sink putty and to reapply a high quality paste to the processor/heatsink.
another successful microsoldering repair, right here in the hattiesburg, mississippi area. if you need some help with your xbox one x HDMI port, please contact me here, and let me take a look at it.
So, Mr. fxr does this help to solve the problem? Asking, because have the same problem and starting to search the solutions and methods of solving this issue.
Doesn’t have much more exp in micro soldering, but it’s seems that not far away from new steps in that direction)
Cheers.
it did for this situation. nothing else seemed out of the ordinary, so this was the next logical step to take. seems like a lot to do for something that doesn’t seem “broken”. but the chip had actually failed. replacing it solved the problem.